
Installing LED light bars on trucks has become increasingly popular among truck owners seeking enhanced visibility for off-road adventures, work applications, and safety improvements. However, proper installation requires careful planning, technical knowledge, and understanding of your vehicle's electrical system. This comprehensive guide walks through the essential steps and considerations for a successful LED light bar installation.
Understanding LED Light Bar Basics
Before beginning any installation, it's crucial to understand what makes a quality LED light bar. Modern LED lighting technology has evolved significantly, with high-performance solutions now offering exceptional durability and efficiency. Premium LED light bars typically feature advanced components including Osram or Cree LED chips, which deliver superior light output while maintaining energy efficiency. The housing material matters significantly—6063 aluminum construction provides optimal heat dissipation, allowing lights to operate reliably even in extreme temperatures ranging from -40°C to 145°C.
When selecting LED light bars for trucks, prioritize products with robust ingress protection ratings. IP68 and IP69K ratings ensure the lights can withstand complete submersion, high-pressure washing, and harsh environmental conditions encountered during off-road driving or industrial use. These certifications aren't merely marketing terms—they represent rigorous testing standards that guarantee performance in demanding scenarios.
Planning Your Installation
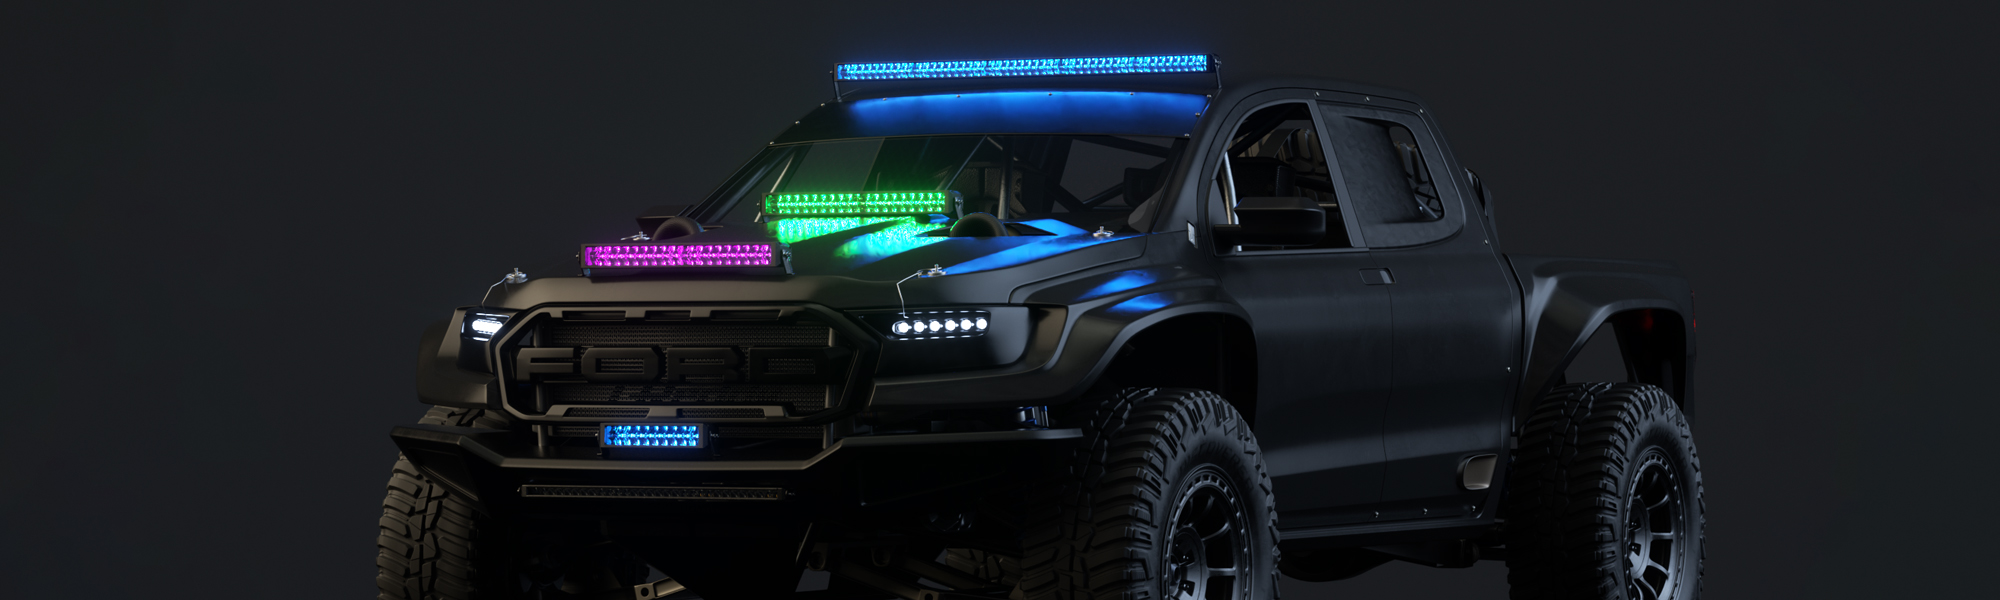
Successful installation begins with thorough planning. First, determine the mounting location on your truck. Common positions include the roof rack, front bumper, grille area, or behind the grille for a more concealed appearance. Each location offers distinct advantages: roof-mounted bars provide maximum visibility range, while bumper-mounted options offer focused illumination closer to the ground.
Consider your intended use case when planning placement. For off-road applications, higher mounting positions typically provide better terrain visibility over obstacles. For work-related tasks such as construction or agriculture, lower mounting angles may illuminate the immediate work area more effectively. Companies like Shenzhen Aurora Technology Co., Ltd. offer various beam pattern options including spot, flood, diffusion, and combination beams designed for specific applications.
Measure your available mounting space carefully and verify that your chosen light bar dimensions fit appropriately. Compact 3-inch LED pods offer versatility for multiple mounting locations, while larger light bars provide extensive illumination coverage. Account for any potential interference with hood opening, windshield wiper operation, or other vehicle functions.
Gathering Necessary Tools and Components
A proper installation requires specific tools and components. Essential items include:
- Mounting brackets appropriate for your vehicle and light bar model
- Wire harness kit with relay and fuse (typically 30-40 amp rating)
- Wire connectors and terminals
- Electrical tape and heat shrink tubing
- Drill and appropriate drill bits
- Wrenches and socket set
- Wire strippers and crimping tool
- Multimeter for electrical testing
- Zip ties or wire loom for cable management
Many professional-grade LED light bars include waterproof DT connectors that ensure secure, weather-sealed electrical connections. When sourcing additional wiring components, opt for marine-grade or automotive-grade materials rated for outdoor exposure and temperature extremes.
Electrical System Integration
The electrical connection represents the most critical aspect of LED light bar installation. Never connect LED light bars directly to your vehicle's existing light circuits without a dedicated relay system. The high current draw can overload factory wiring and create fire hazards.
A proper relay harness system includes several key components: a relay that acts as an electrically-controlled switch, an inline fuse to protect against electrical faults, and a manual switch for operator control. Connect the relay's power wire directly to your truck's battery positive terminal, ensuring you install an appropriately-rated fuse within 18 inches of the battery connection.
Route the ground wire to a clean, bare metal surface on the vehicle chassis, removing any paint or rust to ensure solid electrical contact. The switch wire connects to a power source that's only active when the ignition is on—this prevents accidental battery drain. Common connection points include accessory circuits or upfitter switches if your truck is so equipped.
For trucks operating in extreme conditions or equipped with multiple auxiliary lights, consider systems supporting wide voltage ranges of 9V-32V DC, which accommodate voltage fluctuations common in heavy-duty applications. Professional installations often incorporate circuit protection and anti-interference circuitry to prevent electromagnetic interference with vehicle electronics.
Physical Mounting Process
Begin physical mounting by positioning brackets according to manufacturer specifications. For roof installations, verify that mounting points align with vehicle structural supports rather than just body panels. This ensures the mounting system can withstand wind resistance and vibration during highway driving.
Mark drilling locations carefully, triple-checking measurements before making any permanent modifications to your vehicle. Use appropriate drill bit sizes and consider applying rust-prevention treatment to any exposed metal edges created during installation.
Secure light bars firmly, but avoid over-tightening fasteners which can crack housings or strip threads. High-quality LED light bars designed for industrial and off-road use undergo vibration testing (typically 10g/5-500Hz) to ensure they withstand severe mechanical stress. However, proper mounting technique remains essential for maximizing longevity.
Cable Management and Weatherproofing
Professional installations feature clean, protected wiring that resists environmental damage. Route cables away from hot engine components, sharp edges, and moving parts. Use existing wire channels or body grommets when passing wires through panels to maintain factory weather sealing.
Protect exposed connections with heat shrink tubing rather than just electrical tape, as heat shrink provides superior moisture resistance. Apply dielectric grease to connection points to prevent corrosion, particularly important for trucks used in marine environments or areas with road salt exposure.
Secure all wiring with zip ties or wire loom at regular intervals, preventing cables from sagging or chafing against vehicle components. This attention to detail prevents long-term reliability issues and maintains a factory-quality appearance.
Testing and Alignment
After completing installation, conduct thorough testing before considering the project complete. Use a multimeter to verify proper voltage at the light bar connector with the switch activated. Check that lights illuminate correctly and that all beam patterns function as expected.
For lights with multiple modes such as daytime running light (DRL) configurations or color-changing RGB options controlled via Bluetooth applications, verify all functions operate correctly. Test any integrated features thoroughly to ensure complete system functionality.
Proper alignment significantly impacts performance. Adjust light bar angle to illuminate the intended area without creating excessive glare for oncoming traffic. For off-road-focused installations, aim lights to provide visibility 100-200 feet ahead while maintaining some foreground illumination for immediate obstacle detection.
Compliance and Legal Considerations
Before operating your newly installed LED light bars on public roads, verify compliance with local regulations. Many jurisdictions restrict auxiliary light use to off-road situations only, requiring lights to be covered or disconnected when driving on public highways. Some areas impose specific color restrictions or brightness limitations.
Quality LED lighting systems carry relevant certifications including E-mark, SAE compliance, CE certification, and RoHS compliance, indicating they meet established safety and electromagnetic compatibility standards. These certifications demonstrate the manufacturer's commitment to producing lighting solutions that integrate safely with modern vehicle electrical systems.
Maintenance for Long-Term Performance
While premium LED light bars offer exceptional longevity—often exceeding 50,000 hours of operation—periodic maintenance ensures optimal performance throughout their service life. Regularly inspect mounting hardware for looseness caused by vibration, checking that all fasteners remain secure.
Clean lens surfaces with appropriate automotive glass cleaner to remove dirt, insects, and road grime that reduce light output. Inspect wire connections annually, particularly in harsh-use environments, looking for corrosion or damage that could affect electrical performance.
For trucks used in agricultural, mining, or marine applications where lights face extreme exposure to dust, moisture, and chemicals, more frequent inspections help identify potential issues before they cause failures. The robust construction of industrial-grade LED lighting—including UV-resistant lenses and sealed aluminum housings—provides substantial protection, but proactive maintenance maximizes return on investment.
Conclusion
Installing LED light bars on trucks requires methodical planning, proper electrical integration, and attention to mounting details. By following professional installation practices and selecting high-quality components designed for extreme conditions, truck owners can significantly enhance visibility and safety for both recreational and professional applications. Whether navigating challenging off-road terrain, illuminating work sites, or improving visibility during adverse weather conditions, properly installed LED lighting systems deliver reliable performance for years of demanding service.
https://www.szaurora.com/
Shenzhen Aurora Technology Co., Ltd.